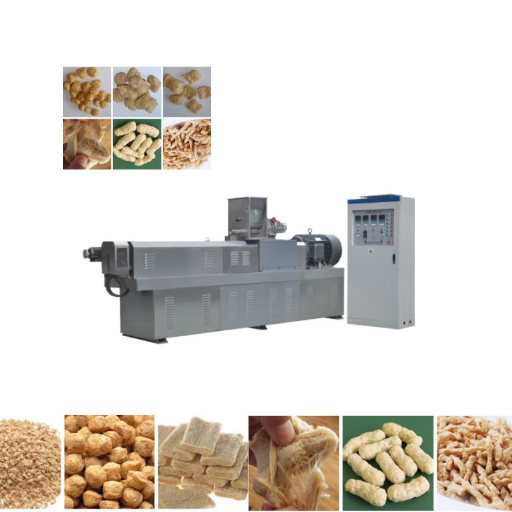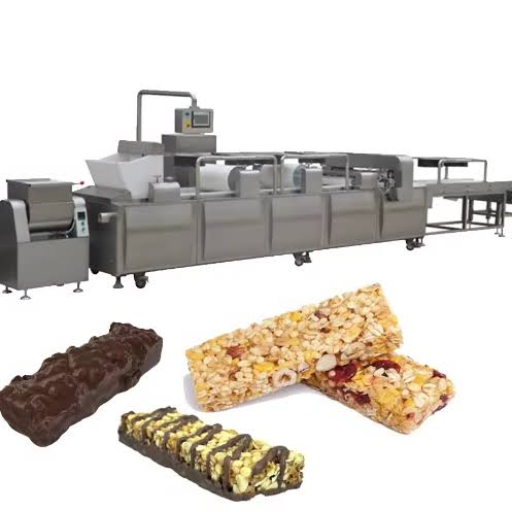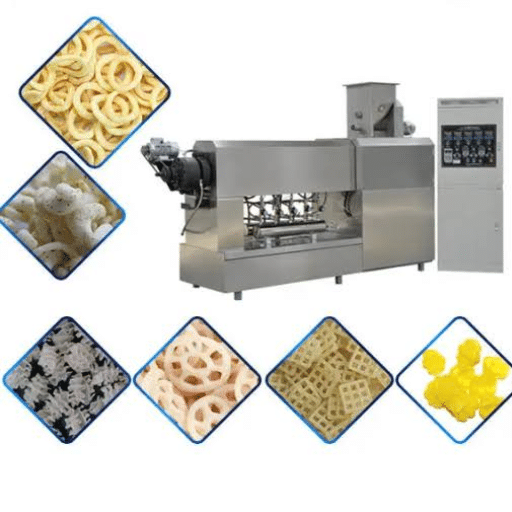
Most food extrusion problems trace back to just four variables: feed rate, moisture, temperature, and screw wear. Fix those four, and you resolve the vast majority of surging, poor expansion, scorching, and die blockages before they ever cost you a production shift.
Imagine this: it’s 6 a.m., your corn puff line just warmed up, and the first pallets come out dense and misshapen instead of light and crispy. Every hour you spend guessing is an hour of product, ingredients, and margin down the drain. You agree that downtime is expensive and that chasing symptoms never fixes anything for long. In this guide, you’ll learn a repeatable diagnose, fix, and prevent framework, backed by the exact temperatures, moisture levels, and wear limits that experienced extrusion engineers rely on.
Key Takeaways
- Roughly 90% of extruder surging starts in the feed and transition zones, not the screw tip.
- Target 12–14% moisture and 120–140°C die temperature for reliable snack expansion.
- Replace screws when wear exceeds 0.5 mm; run below 80–85% of maximum torque.
- Most “heat” problems are really shear problems caused by screw configuration, not faulty heaters.
- A systematic maintenance routine can cut extruder defect rates from double digits to low single digits.
Why Extrusion Goes Wrong: The Four Variables Behind Most Failures
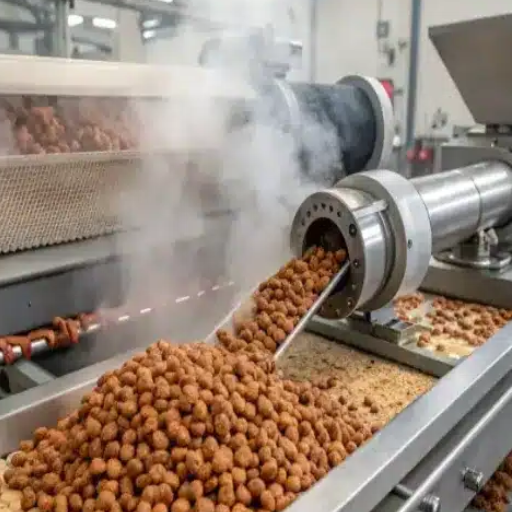
When operators call us about a food extrusion troubleshooting issue, the symptoms sound completely different. One line surges. Another produces burnt kibble. A third can’t get its puffs to expand. But underneath, the root causes almost always cluster into four controllable variables.
Feed rate and raw-material moisture. The extruder can only cook and shape what it receives. Irregular feeding, clumping in the hopper, or moisture that drifts out of spec throws every downstream parameter off.
Barrel and die temperature. Melt temperature comes mainly from mechanical shear, not the heaters alone. That means a “too hot” product is often a screw configuration problem wearing the disguise of a heater problem.
Screw speed, back pressure, and die pressure. These three work together. Change one without adjusting the others and you create surging or pressure instability.
Screw, barrel, and die wear. Wear is gradual and invisible until it isn’t. A screw that has lost half a millimeter of clearance no longer conveys material the way it did on day one.
Understanding these four variables is the difference between fixing a problem once and fixing it every week. Let’s walk through the specific symptoms, starting with the one operators report most.
Want to see how the right screw and die configuration prevents these failures in the first place? Explore our turnkey food production lines →
Extruder Surging and Unstable Output: Why 90% Starts in the Feed Zone
Surging is the most frustrating symptom in food extrusion troubleshooting. One minute the product is perfect; the next, it changes size, shape, or density as die pressure and motor load swing.
Rahul runs a snack line in Mumbai and noticed his output drifting every few minutes. His first instinct was to tinker with the screw at the discharge end. After a full day of adjustments, nothing improved. The real culprit was a partially bridged feed throat, raw material was piling up and then suddenly collapsing into the screw, creating a surge-and-starve cycle. Clearing the bridge and adding an anti-clumping device stabilized the line in under an hour.
The lesson is backed by the industry’s definitive reference, Extrusion Problems Solved: roughly 90% of surging problems originate in the feed and transition sections, not the metering section where operators tend to look.
What Surging Looks Like
You’ll typically see one or more of these together:
- Fluctuating die pressure and motor load
- Product dimensions changing in a repeating pattern
- Cyclic variation tied to feed-zone temperature oscillation
Common Causes and Fixes
The causes and their fixes map directly to the four variables:
| Cause | Fix |
|---|---|
| Hopper bridging or irregular feed | Add a vibrating hopper or anti-clumping device |
| Feed-zone slip-stick (temperature oscillation) | Increase screw cooling or lower zone 1 temperature |
| Starve feeding at high screw speed | Lower screw speed or raise feed rate and back pressure |
| Worn screw clearances | Restore or replace the screw |
A simple rule of thumb helps here: check the feed zone before you touch the screw tip. Most operators save hours by working the problem in the right order.
Poor Expansion and Puffing in Snack and Cereal Extrusion
Poor expansion is the number one defect we hear about from snack producers. The product comes out hard and dense instead of light and crispy, and no amount of seasoning fixes it.
The cause is almost always a shortfall in pressure and temperature at the die, driven by one of three things: moisture out of spec, insufficient barrel temperature, or a worn screw that can no longer build pressure.
Why Won’t My Extruder Puff?
For most corn puff and snack applications, target 12–14% moisture. Above 15%, the water absorbs too much heat and pressure drops before the die, so the product won’t expand. Below 11%, you risk over-expansion and brittle, easily broken pieces.
Die temperature matters just as much. Keep the die head stable around 120–140°C for many food applications. If the die runs cold, the melt can’t flash into steam at the exit, and expansion stalls.
Miguel, a plant engineer in Guadalajara, spent two weeks fighting flat, dense puffs. He tried raising temperatures and adjusting the recipe, but nothing held. A teardown revealed the kneading blocks had worn past their limit, quietly robbing the screw of its ability to shear and pressurize the melt. Replacing the screw restored full expansion the same day.
Over-Expansion and Brittle Product
The opposite problem is just as costly. If your product over-expands and shatters in the bag, dial it back in small steps: reduce screw speed in 10-rpm increments, cut steam injection by about 5%, or open the die area slightly.
For puff snack and cereal lines specifically, the correct screw configuration matters as much as the recipe. See how our corn puff snack production line is engineered to hold pressure and temperature stable across a full shift.
Melt Temperature Problems: Too Hot, Too Cold, and Unstable
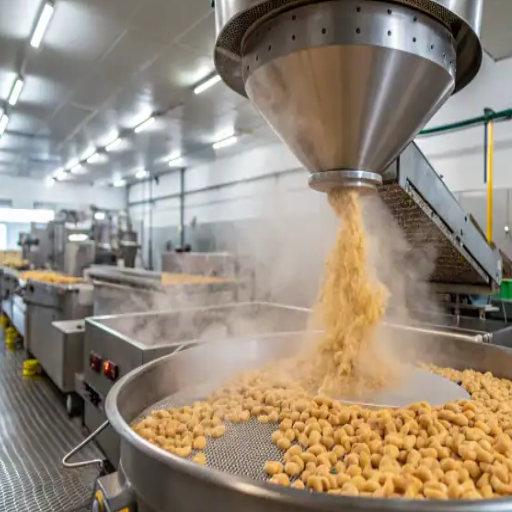
One of the most misunderstood areas of food extrusion troubleshooting is temperature. Operators see an overheated product and immediately suspect the heaters. But melt temperature is generated primarily by shear, which means your screw configuration and speed are usually the real levers.
Signs Your Melt Is Overheating
Watch for smoking or decomposing product, deformation after the die, and a burnt or bitter taste. The Maillard reaction, the browning that adds flavor, accelerates sharply above about 160°C, and beyond that you get scorching instead of browning.
When a pet food line comes back with scorched kibble, the standard fix is to lower the final two barrel zones by about 10°C and reduce screw speed by 10–15%. If scorching persists, the problem is often too-aggressive kneading blocks generating excess shear, not the heaters.
Cold Melt and Unmelted Particles
A dull, cold product that doesn’t emerge cleanly usually means the feed and transition zones are too cold, leaving unmelted particles that clog the metering section. Raise the affected zone and the zones just before it, and check the thermocouple wiring and solid-state relays, a failed relay will quietly prevent a zone from heating at all.
Fixing Unstable Temperature Control
Unstable temperature control is a distinct problem with its own checklist. Clean or replace a contaminated sensor, check for damaged heating elements, and confirm cooling-water flow is stable. When temperatures drift even 5°C, the product shows it.
Motor Overload, High Current Draw, and Abnormal Noise
A tripped overload is the extruder telling you something is wrong. Never bypass the overload setpoint, it’s protecting your screw, barrel, and gearbox from damage that costs far more than the downtime.
Why the Motor Trips
High current draw usually means one of four things: the feed rate is too high for the screw speed, the die or screen pack is blocked, the barrel was too cold at startup, or bearings and gears are worn and adding friction.
The fix is to reduce screw speed and feed rate gradually, clear any blockage, and raise the barrel temperature if preheating was insufficient. Aim to operate around 80–85% of maximum torque, that’s the sweet spot between safety and throughput.
Vibration, Clatter, and Metal-on-Metal Wear
Abnormal noise is a red flag that demands an immediate stop. A loud clatter usually means the screw and barrel are making metal-to-metal contact from severe wear, or a bearing has failed. Hard foreign objects in the raw material are another common cause, which is why magnetic separation on the infeed is essential.
Priya, a maintenance lead in Chennai, heard a new grinding noise on her twin-screw line during a night shift. Instead of letting it run, she stopped the line and found a worn bearing on its way to a catastrophic failure. The 40-minute teardown saved a gearbox that would have cost ten times as much to replace.
Die and Cutter Defects: Clogging, Breakage, and Misshapen Product
Die problems multiply fast because the die is where everything comes together, pressure, temperature, and product shape.
Cleaning Blocked Die Holes Without Damage
Blocked holes usually hold scorched material or a foreign particle. Clean them with a tool slightly smaller than the hole, and soak hardened, burnt material in hot water first. Never force it, a gouged die plate produces permanent surface defects.
Cutter Blade Speed, Wear, and Shape
Misshapen product with “tails” or rough edges often traces to a dull, loose, or mismatched cutter. The blade speed must match the output rate, and blades wear quickly, so inspect them every batch. For shape-sensitive products like 2D and 3D snack pellets, die and cutter condition is the difference between a clean shape and a reject bin. Our 2D/3D snack pellet process line is built around precise die and cutter engineering to hold those shapes run after run.
Food Extrusion Troubleshooting Table: Symptom, Cause, and Fix
Here is the quick-reference table our engineers use. Bookmark it, print it, or tape it to the control panel.
| Symptom | Likely Cause | Corrective Action |
|---|---|---|
| Surging / unstable output | Feed bridging or worn screw | Stabilize feed; restore screw clearances |
| Poor expansion / hard product | Moisture >15% or screw wear | Target 12–14% moisture; replace worn screw |
| Over-expansion / brittle | Too much steam or speed | Reduce speed 10 rpm; cut steam ~5% |
| Burnt / scorched product | Melt above ~160°C (Maillard) | Lower final zones ~10°C; reduce speed 10–15% |
| Motor overload / high current | Overfeed or blocked die | Reduce feed; clear blockage; check bearings |
| Cold, unmelted product | Feed/transition zones too cold | Raise zones; check thermocouple and relay |
| Abnormal noise / vibration | Screw-barrel contact or bearing wear | Stop immediately; inspect screw and bearings |
| Blocked / no discharge | Moisture or particle size out of spec | Adjust to 12–20% moisture; grind to spec |
| Unstable temperature | Faulty sensor, heater, or cooling | Clean/replace sensor; check elements and flow |
Preventive Maintenance: Stop Food Extrusion Problems Before They Start
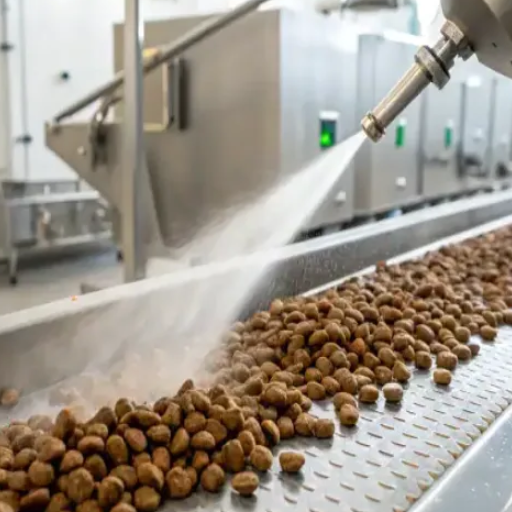
Every fix in this guide is cheaper and easier when you catch the problem before it reaches the die. That’s where a structured maintenance routine pays for itself many times over.
Commissioning and Startup Checks
Preheat each barrel section to 10–15°C below normal production temperature and hold for 30–60 minutes. Then jog the screw at low speed to confirm direction and check for abnormal noise before ramping up. This staged startup is standard practice for snack extruders, as outlined in FLD Machine’s snack extruder debugging guide.
Daily, Weekly, and Per-Batch Maintenance
Make these checks routine:
- Each shift: Verify lubricating oil, cooling water, sensors, and gauges before startup.
- Each batch: Clean the barrel, screws, and die; inspect the die for wear.
- Weekly: Inspect seal rings, oil pipes, and oil pressure.
The payoff is measurable. One aquatic-feed plant documented in Mikim Technique’s twin-screw maintenance guide reduced its extruder-related defect rate from 12% to 2% by establishing a dynamic parameter-matching routine: small-batch trials after every raw-material change, section-by-section temperature monitoring with alarms at ±5°C, and regular sensor calibration.
How Customization Prevents Recurring Faults
Here’s the insight most troubleshooting guides miss: many recurring faults are design problems, not operator problems. A screw configured for the wrong bulk density, a die with too much open area, or a barrel without the right cooling zones will keep failing no matter how carefully you adjust it.
That’s why customization is the most powerful preventive tool you have. When the screw, barrel, and die are engineered to your specific recipe and throughput, the common failure modes disappear. Our snack food machinery is built to your product’s exact parameters, so the problems in this guide show up far less often.
Conclusion
Food extrusion troubleshooting doesn’t have to be guesswork. When a line acts up, the pattern is almost always the same: check the feed zone first, then moisture, then temperature and screw wear. Roughly 90% of surging starts in the feed zone, expansion lives or dies on 12–14% moisture and a 120–140°C die, and wear beyond 0.5 mm quietly steals your pressure.
The real payoff comes from prevention. A systematic maintenance routine and a screw-and-die setup matched to your recipe can take defect rates from double digits down to single digits. That’s the difference between firefighting every shift and running a line you can trust.
If you’re tired of chasing the same extrusion problems, our engineering team can help you diagnose the root cause and design it out for good. Contact us today to discuss your extrusion line →