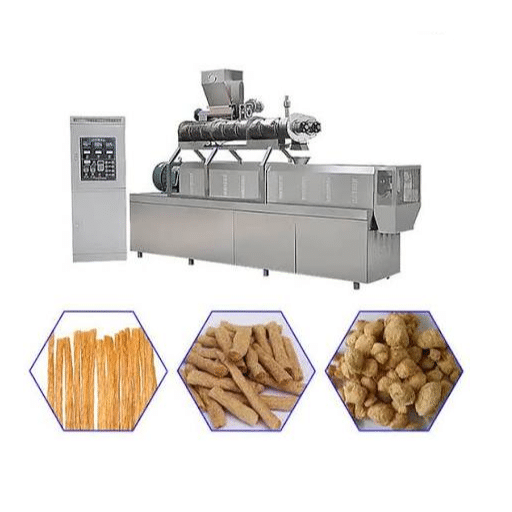
Food machinery installation and commissioning is the structured process of positioning, connecting, testing, and validating food processing equipment so it operates safely, efficiently, and in compliance with design specifications from day one. Done correctly, it transforms a collection of shipped components into a reliable production system. Done poorly, it leads to costly delays, inconsistent product quality, and premature equipment failure.
When Ahmed received his new corn puff snack production line at his facility in Cairo, the crates sat in his warehouse for three weeks. His team was unsure where to start. The electrical contractor had questions about power requirements. The floor layout did not match the drawings. By the time he called for help, what should have been a two-week startup had stretched into a two-month ordeal. His story is more common than you might think.
This guide walks you through every phase of food machinery installation and commissioning, from the moment your equipment arrives to the day your operators run their first production batch. With over 10 years of experience installing extrusion systems and turnkey production lines in more than 50 countries, we have seen what works and what does not. Whether you are setting up a pasta production line, a protein bar production line, or a complete snack food machinery system, the principles remain the same.
Key Takeaways
- Installation and commissioning typically consume 20 to 30 percent of total project time, yet they determine long-term reliability.
- Pre-installation planning, including site readiness and Factory Acceptance Testing (FAT), prevents 80 percent of common startup delays.
- Extrusion systems require precision laser alignment; even 1 cm of misalignment causes uneven output and accelerated wear.
- Commissioning follows three stages: dry run (no product), wet run (water or inert fluid), and hot run (actual production material).
- Baseline data recorded during commissioning becomes the foundation for predictive maintenance and long-term performance optimization.
What Is the Difference Between Installation and Commissioning?
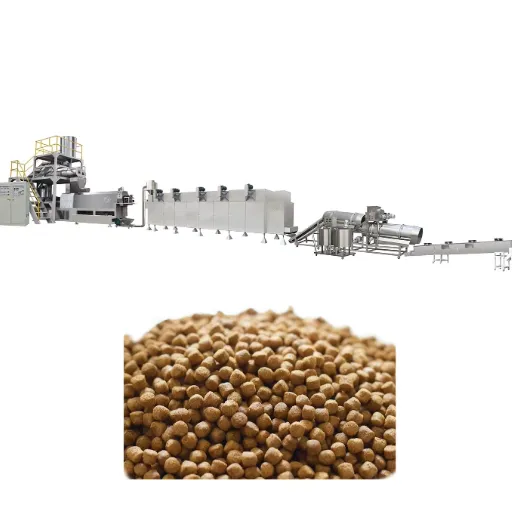
The task of a complete installation involves modifying an existing system with the physical placement/positioning, horizontal leveling, plumb alignment and connecting of the items to machine room utilities. To commission is to confirm that a piece of equipment, which has been installed, is performing competently, safely and as expected; this involves running the equipment under either simulated or real production conditions and observing how it performs.
Put differently, in terms of installation vs. commissioning the stage is built while performance is practiced and this is associated with preparation avoidance. The extruder may work even if it has been installed well without the stage of commissioning but such performance would be far from perfect. On the other hand commissioning all recently mounted equipment, without prior squareness or palming, is only good at uncovering faults which should have been rectified in the course of food machinery installation commissioning.
For food producers, that duality is especially pronounced. There are such things as food safety laws, appropriate sanitation practices, and even requirements for the products being offered; consequently, errors are hardly tolerated. One in particular, the FSSC 22000, recommends that each instance of acquiring any new equipment should be controlled through risk based management of change, with supporting documents for Components acceptance at factory and Site acceptance as well. To omit processes means to be prepared for some of your orders and production slots not taking place.
The link to longevity is far more explicit. With equipment being level, aligned and installed correctly, such equipment results in less vibration, lower bearing temperature and less unexpected stoppage of equipment. The peak and the average motor current and vibration level figures collected during installation and commissioning of the equipment will serve as the baseline in case of such programs.
Phase 1: Pre-Installation Planning
Thorough planning before your equipment arrives is the single most effective way to prevent delays. In our experience, factories that complete a detailed pre-installation checklist start production an average of two to three weeks sooner than those that do not.
Site Readiness Assessment
Begin by conducting an exhaustive assessment of the location. Check if the floor can carry the heaviest machineries such as an extruder body – it’s important to note the floor loading capacities. Check the height of the ceilings and the width of the doors along the entire path— from the loading dock to the installation location. Within one project in the South-Eastern area of Asia, the client managed to find out that the transport lift was 10 centimeters smaller than the control cabinet after the order had already arrived. Due to the required workarounds, the replacement led to a schedule shift of four days.
Checking the utilities set up is also necessary. Confirm and check the requirements for the equipment in terms of voltage, phase, and amperage with the already existing electrical system. Confirm the locations of compressed air and water supply as well as steam and drainage pipes before arriving to the site. A conflict of that nature during the installation process brings the works to a stop until the team on site modifies the position of the piping.
Have a minimum of 0.5 to 1 meter spare space in every direction for proper introduction of tools for maintenance to surrounding components. For extrusion systems this will include planning sufficient hole to allow for removal of screws and barrels, in line with the rescaling of the intact line.
Documentation Review
Before shipment, confirm that Factory Acceptance Testing (FAT) has been completed and any punch list items have been closed. Review operating and maintenance manuals, electrical schematics, P&ID diagrams, and parts lists. Verify that CE certification and food-contact compliance documentation are complete.
Spare Parts and Tools
Have manufacturer-recommended commissioning spare parts on site before installation begins. This includes consumables for the first 12 months of operation, such as seals, belts, and filters. Confirm that food-grade lubricants with correct certifications are available. Special alignment tools and torque wrenches should also be on hand.
Factory Layout Optimization
Review your factory layout with the equipment supplier to optimize material flow and operator workflow. A well-planned layout reduces unnecessary movement, improves hygiene control, and makes cleaning easier. If you are investing in turnkey food production lines, the supplier should provide a detailed layout drawing before manufacturing begins.
Phase 2: Mechanical Installation
Mechanical installation quality directly impacts long-term reliability, safety, and cleanability. This phase requires patience and precision.
Delivery and Unpacking
Inspect all crates and components for shipping damage before signing the delivery receipt. Cross-check every item against the packing list. Moisture damage to electrical components is a common issue that can be caught early with a thorough inspection.
Positioning and Leveling
Place the heaviest unit, usually the extruder, first. Use cranes or forklifts according to the manufacturer’s lift plan. Level the frame precisely on both axes, typically to within 0.1 millimeters per meter. Torque all anchor bolts to the specifications in the installation manual.
Laser Alignment for Extrusion Systems
For extrusion systems, laser alignment is essential. The die head, cooling section, haul-off unit, and cutter must sit on a straight horizontal centerline. Even 1 centimeter of misalignment can cause uneven extrusion, product dragging, and accelerated wear on screws and barrels. This is particularly critical for pasta production lines and corn puff snack production lines, where die orifice geometry determines product shape and consistency.
Assembly of Precision Components
Insert the extruder screw carefully using a guide rod to avoid damaging internal threads. Lubricate with high-temperature grease before installation. Assemble the die head meticulously, applying anti-seize compound to threaded components and torquing all bolts to specified values.
Vibration Control and Anchoring
Use vibration isolation pads or spring mounts for equipment like mixers, grinders, and packaging machinery. Proper vibration control prevents structural damage to your facility and reduces premature wear on bearings and couplings.
Want to see how precision alignment affects your specific production goals? Explore our food production lines to learn how we customize layouts for optimal performance.
Phase 3: Utility and Control System Connections
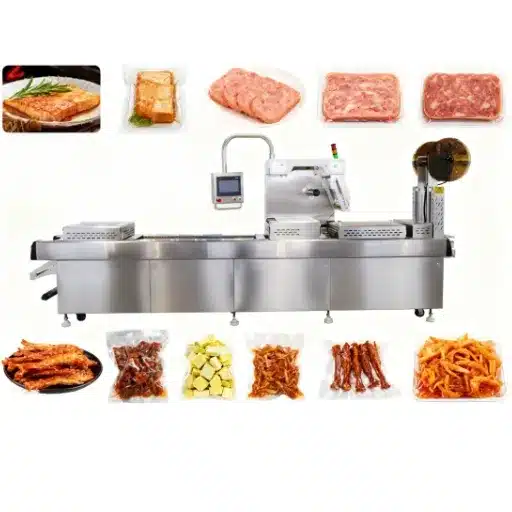
Once equipment is positioned and aligned, the next step is connecting utilities and control systems. This phase must be performed by certified technicians.
Electrical Integration
A certified electrician should connect main power, heater bands, thermocouples, motors, and sensors to the PLC control panel. Verify that all cables are pre-labeled and color-coded according to the electrical drawings. Before coupling motors, jog each one at low speed to confirm correct rotation direction. Reversing an extruder motor can cause catastrophic damage.
Cooling and Heating Systems
Connect heat-resistant piping to barrel cooling jackets and downstream cooling conveyors. Test for leaks immediately. Even small leaks can reduce cooling efficiency by up to 20 percent, leading to temperature instability during production. Install heater bands evenly on the barrel and die, then calibrate thermocouples against a standard thermometer.
Compressed Air and Vacuum
Connect pneumatic lines for actuators, cylinder controls, and automatic seasoning systems. If your extrusion system includes vacuum degassing for moisture removal, install vacuum pumps and verify they reach approximately -0.08 MPa. This is especially important for snack extrusion systems where trapped moisture causes bubbles and surface defects.
Safety System Verification
Verify that every emergency stop button, safety interlock, and door sensor cuts power immediately when activated. Test fail-safe shutdown systems and confirm that HMI alarm displays match the actual fault conditions.
Phase 4: Commissioning and Validation
Commissioning proves that your equipment operates safely, efficiently, and in compliance with design specifications. According to industry analysis, this phase typically represents 20 to 30 percent of total project time, yet it determines whether your line succeeds or struggles.
Installation Qualification (IQ)
Installation Qualification verifies that the equipment is installed correctly and matches design specifications. This includes checking documentation, physical installation details, utility connections, and serial numbers against the purchase order. IQ confirms that what is on your floor matches what was specified.
Dry Commissioning (Cold Run)
Power on the line without any process material. Check for abnormal noise, vibration, or fluid leaks. Verify that all indicated temperatures, speeds, and pressures read correctly on the HMI. Test every safety device, alarm, and system interlock. Record baseline readings for vibration, bearing temperature, and motor current. These baseline numbers are your reference for future predictive maintenance.
Wet Commissioning
Introduce water or an inert fluid to test pumps, valves, and flow systems under near-real conditions. This reveals issues like plumbing blockages, valve sequencing errors, or drainage problems that would be difficult to catch during dry runs. Wet commissioning is particularly valuable for snack food machinery with complex seasoning and oil circulation systems.
Hot Commissioning with Material
Raise the temperature of the barrel in stages till maximum working temperatures is attained. This is to reduce expansion and contraction which causes wear and tear. A normal profile would start at 120 degrees Celsius for one hour and then to the finishing actual process temperature. Load the raw materials and close the extruder switch with low speeds, normally 5-10 RPM or 50% of the maximum speed. Observe the electric motor current while gradually incrementing the rotation speeds so that it does not go beyond 80% of the average.
Check that the material is completely molten before reaching the forming die during hot commissioning. For the puffed foods, it is important to check and ensure existence and functioning of the sharp drop in pressure at the die that causes puffing. Keep a track of the dimensions of the product, how the product looks and feels as well on a constant basis.
| Commissioning Stage | Purpose | What Is Tested | Duration |
|---|---|---|---|
| Dry Run (Cold) | Mechanical verification | Motors, interlocks, alarms, baseline readings | 1-2 days |
| Wet Run | Fluid system verification | Pumps, valves, flow, drainage | 1-2 days |
| Hot Run | Production simulation | Temperature profiles, extrusion quality, product specs | 2-5 days |
| SAT / PQ | Performance validation | Continuous operation, OEE, quality consistency | 3-7 days |
Performance Qualification (PQ) and Site Acceptance Test (SAT)
Run the equipment continuously at production load for 72 to 168 hours. Monitor all key parameters against the FAT baseline. Investigate and resolve any deviations before formal handover. Verify that product quality output meets your specifications under actual production conditions. Well-commissioned automated lines can reach 98 percent Overall Equipment Effectiveness within four weeks of startup.
Phase 5: Training and Handover
The transition from project to operations is where long-term reliability is secured. Proper training and documentation ensure your team can operate and maintain the equipment confidently.
Operator Training
Operator training should cover safe startup and shutdown procedures, recipe management through the HMI, parameter adjustment for different products, and hygiene protocols. Training should be hands-on, with operators running the equipment under supervision before independent operation.
Maintenance Training
Maintenance technicians need training on lubrication schedules, wear indicator recognition, and basic troubleshooting. They should understand how to remove and replace common wear parts, such as dies, cutters, and seals, without calling for external support.
Documentation Package
At handover, you should receive a complete documentation package. This includes IQ, OQ, and PQ validation reports, commissioning records, as-built electrical and mechanical drawings, calibration certificates, maintenance schedules, and recommended spare parts lists. Upload these documents to your asset management system immediately.
CMMS and Predictive Maintenance Setup
Create the asset record in your Computerized Maintenance Management System (CMMS) during handover, not after the first breakdown. Load the preventive maintenance schedules using runtime-based triggers where applicable. Link critical spare parts to the asset record and set reorder points for long-lead items like bearing sets.
Ready to ensure your team gets the training they need? Our engineers provide comprehensive on-site instruction as part of every protein bar production line and extrusion system installation.
Common Mistakes to Avoid
Even experienced manufacturers make these errors. Avoiding them saves time, money, and frustration.
- Skipping the pre-delivery inspection. Visit the supplier’s facility for FAT if possible. Catching design or documentation issues before shipment prevents costly surprises on your floor.
- Underestimating site access constraints. Measure every doorway, elevator, and corridor along the delivery route. One overlooked turn can halt an entire delivery.
- Rushing cleaning validation. New food-contact equipment requires proof that it can be cleaned to a hygienic standard. Allergen changeovers and complex CIP cycles often take longer than expected to validate.
- Poor cross-functional planning. Installation should not be left solely to the supplier. Include your engineering, quality, maintenance, and production teams from day one.
- Ignoring baseline data recording. Without vibration, temperature, and current readings from commissioning, future predictive maintenance has no reference point.
- Delaying maintenance schedule setup. Waiting until after the first failure to create PM schedules is a recipe for unplanned downtime.
Working with an Overseas Installation Team
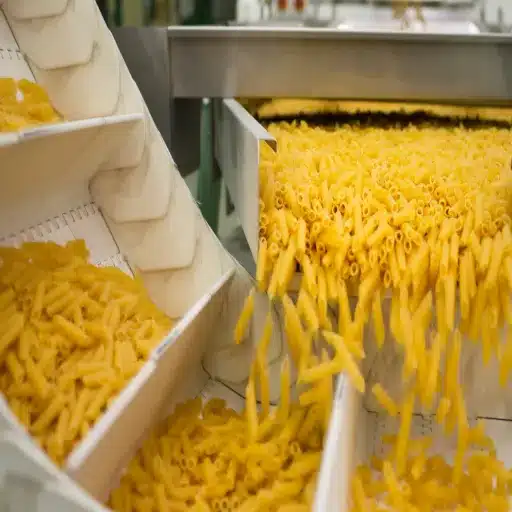
For global customers, installation management at international sites can be quite challenging. Problems are likely to arise because of linguistic divergences, visa arrangements, and differences in hours of operation; each of these barriers adds another level of difficulty to an already taxing undertaking.
Turnkey providers have packaged solutions for their customers, which include dispatch of engineers overseas. Such engineers have their visas, all relevant papers, and spare parts at the time of arrival. They monitor local workers during mechanical installation, conduct commissioning on their own and instruct your staff on site.
The length of a typical visit abroad to commission a single extrusion line is 5 to 7 days. The engineer provides the installation supervision, dry as well as wet commissioning, hot runs with your supplied raw materials, training of operators and hand over documentations. Then there is remote assistance by means of a video call and or remote monitoring service where needed when the engineer leaves.
It is crucial to select a partner with demonstrable international experience. With projects installed in over 50 nations, you can rest assured of the concept and execution of our firm’s international projects. Custom authorities, co-ordination with respective local contractor’s are few of the concerns that we take care of so that the client can concentrate on his facility’s preparation.
Conclusion
Food machinery installation and commissioning is not something to be done in a day. It is an activity that is divided into five different steps and requires a lot of organization, accuracy and endurance. It is possible to avoid the postponements of the systems whose facilities are unavailability by planning and such delays are associated with the systems of unavailability. Of detachable equipment, care ought to be practiced in mechanical installation and a particular concern ought to be given to the alignment specifically extruders as this impacts its lifespan. Injury prevention is also practiced to the customers and the materials of primary effect of the users. Lastly, commissioning tackles dry runs up to performance qualification, which evaluates if the production line is useable and ready. In due consideration, training and availing of the right documentation helps to maintain the very level of output over a sustained period.
Proper commissioning ought to be considered as an investment rather than a cost. The benefits of this stage are a gas of downtime, the quality of the product does not vary and equipment works for longer with the introduction of baseline data, understanding of precision alignment and operations تېchnician’s knowledge.
Our team is capable of assisting with any requests for food production line setup design needs or modification from scratch, as we conducted each project encompassing everything up to and including site and personnel capabilites. We have a vast network of installers and over 10 years of experience in the industry. We supply guaranteed full package services that use components that are CE approved. You are more than welcome to reach us in order to arrange a conversation regarding your requirements and have the necessary installation and commissioning program specifically designed for your establishment.